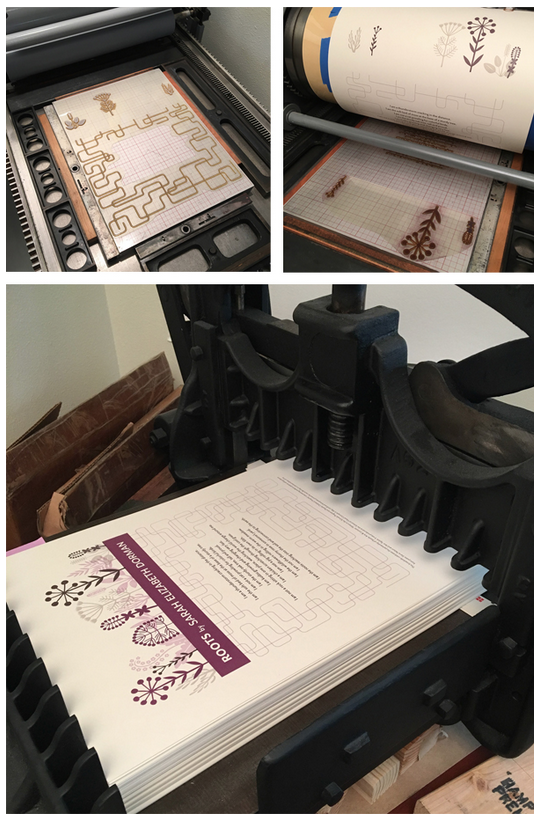
Photopolymer Plates
|
What are Photopolmer Plates?
Photopolymer is photosensitive material in sheet form that is exposed to UV lights through a negative film. The light shines through the clear sections of the film and hardens the polymer. The plate is washed out with water. The exposed areas are left to form the relief and the unexposed is washed away. The plate is dried and exposed to UV one more time to complete the process. The plate image and text will be in reverse so when mounted onto the base system in the press, it will be inked and print right-reading onto the paper. The polymer of a plate is connected either to a steel-backed plate (which then connects to a magnetic base) or to double-stick adhesive (which then connects to a non-magnetic base like the Boxcar Base). Making a Film To create a photopolymer plate, you’ll want to work with images comprised of linework or from halftone. It’s not possible to print a gradient or greyscale if not made up of lines or dots. You’ll need to create a negative film for exposing your image onto the plate. There are several ways to do this:
Halftone Image Guidelines
Exposing the Plate The exposure time depends on the type of image. If it’s a bold graphic with large solid areas, it will take less time than if it’s an image made up of delicate hair lines. It’s a good idea to do a test strip using a small piece of photopolymer plate through a critical area of your image, to make sure your exposure time is right before investing in a larger piece. The times tend to run from 1-3 minutes. It can be useful to use a Stauffer Scale, a test strip for exposing and seeing a greyscale range. |
