|
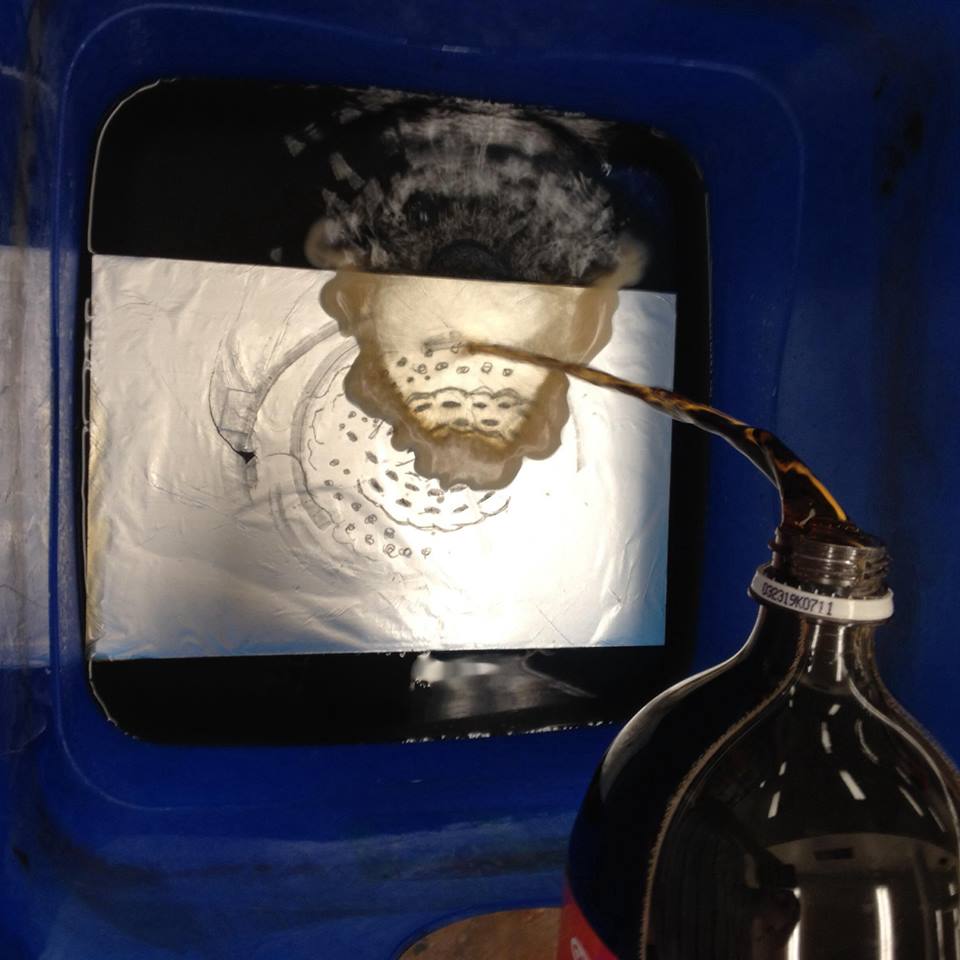
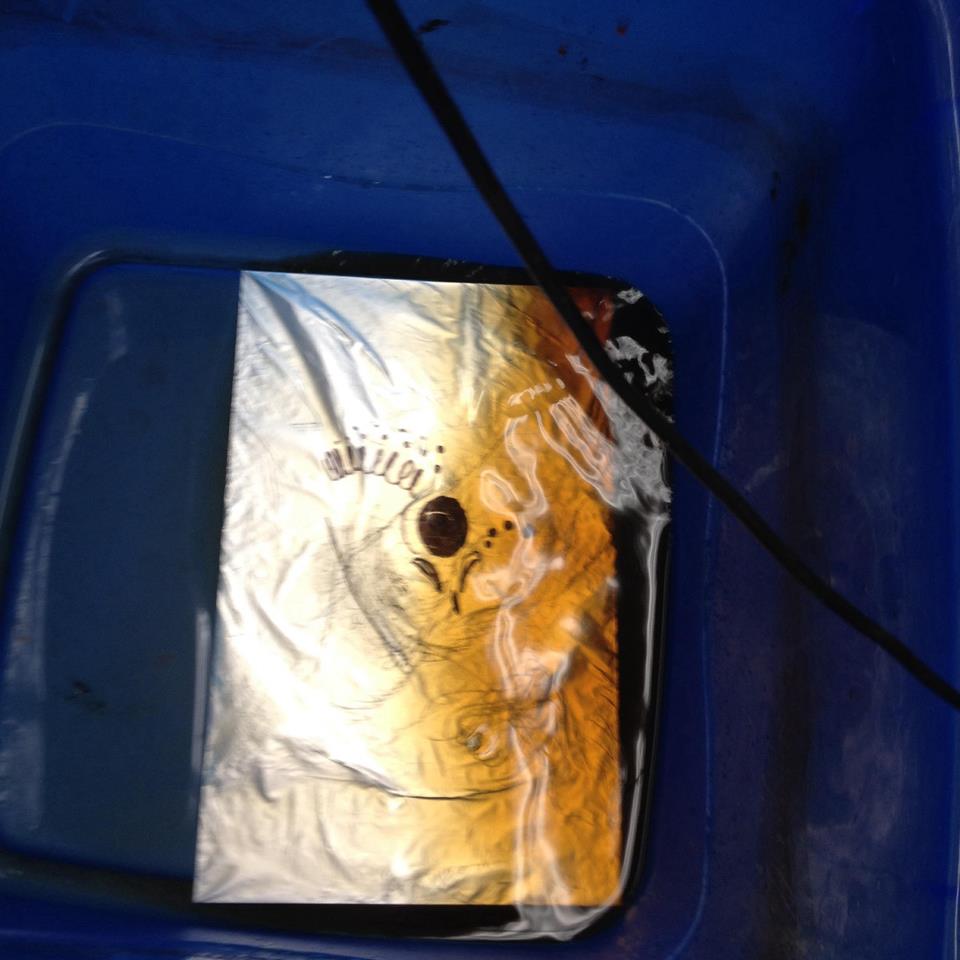
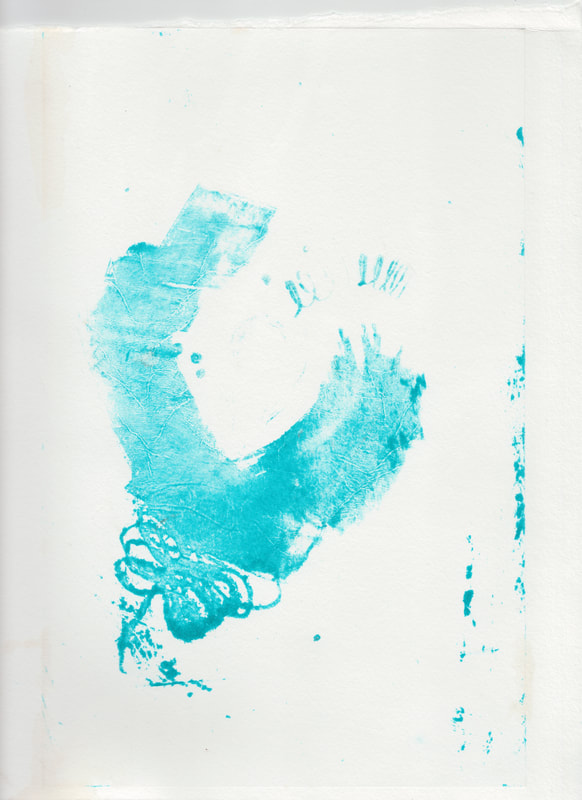
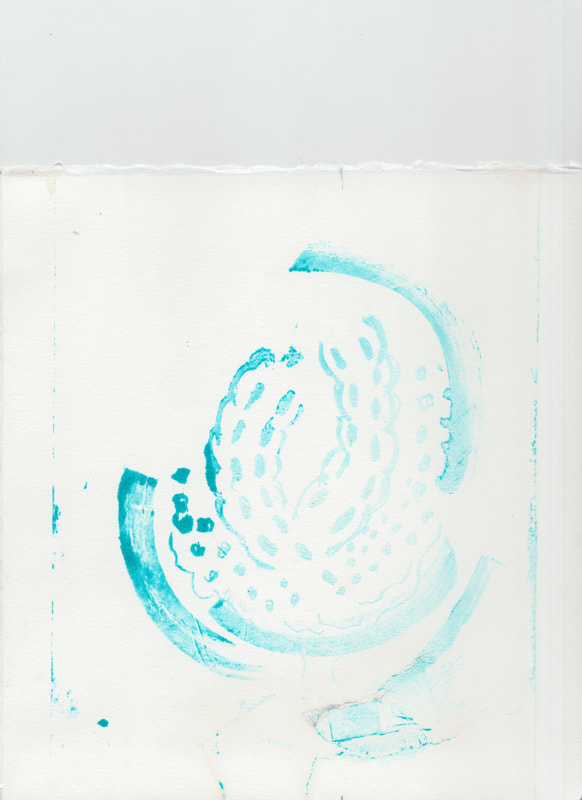
Hannah Whitaker Traditional stone lithography is a process of etching and pulling prints off of limestone slabs. The nature of this technique requires many chemicals and special equipment. As a result, this process is expensive and difficult to gain access to. In June 2011, french artist and teacher Émilie Aizier, pseudonym Emilion, invented a non toxic, home alternative to traditional stone lithography and coined the term Kitchen Lithography. The process sticks to the same general science of lithography however it substitutes vegetable oil for lithotine and cola for nitric acid. Through combining Emilie Aizer's research and kitchen lithography demonstrations from different parts of the world I was able to combine steps from each artist's techniques to further develop this non-toxic and accessible lithography process. * Images used in this tutorial are combined from several print attempts, as a result the key image may change form one photo to the next but that is not part of the process. 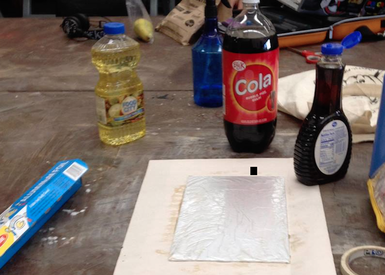 The materials you will need: Aluminum Foil Tape Mono Printing Plate (plexi glass) Cola Pancake Syrup Vegetable Oil A container larger than your plate with no holes Sponge/ Bowl of water Litho Crayons or Sharpie Oil Based Ink Brayer Paper Towels Paper (for print) The First Step: Creating your surface Wrap your mono printing plate in aluminum foil (matte side up) and carefully tape it down to the back of the plate * You must be careful not to leave finger prints on the plate as the grease from your hands may print. * For a smooth surface you can lightly dampen the plate with your sponge before putting down your foil. The water will help the foil cling to the plate and help prevent wrinkles. (However, if wrinkles do not bother you they can also be used aesthetically.) 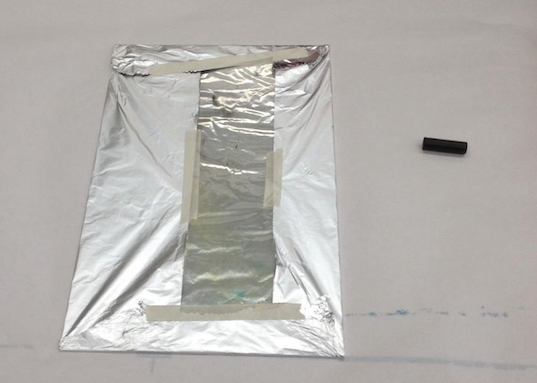 Second: Draw your image With a litho crayon or a traditional sharpie draw your image on the MATTE side of the aluminum plate. *If drawing in sharpie you must draw over your lines at least three times or they will not print. *Try to maintain a light hand as the foil rips easily * If a rip occurs you can seal it with tape however the edge of the tape will print (DO NOT LEAVE THE HOLE OPEN) 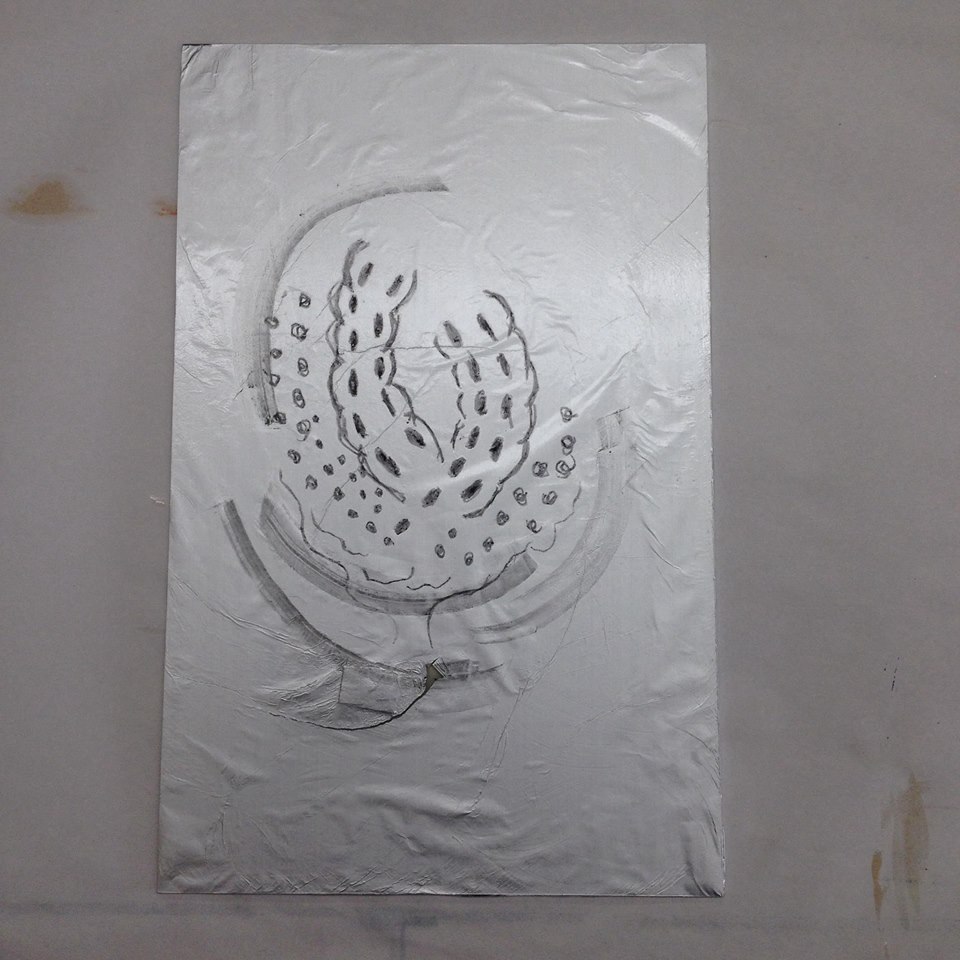 Third: "Gum" your plate Drop a small amount of pancake syrup onto your plate and buff it in with paper towels or cheese cloth. * Make sure there is enough syrup so that it fully and evenly covers the plate Fourth: Etch your plate Get your container and put your plate at the bottom. A this point you should start to pour cola into the container being sure that it hits every inch of your plate. Lift the container and move the liquid left to right for at least three minutes to ensure a complete etch. * If your image is drawn with sharpie you will need to do this process twice. * You cannot reuse this cola and the cola must be carbonated. Fifth: LAW with vegetable oil This is the last step before printing. With cheese cloth or paper towels rub vegetable oil all over the plate. When you do this your image will disappear but thats okay, the grease etch remains. Printing: Wet your plate with the sponge. It is important that you sponge your plate between each application of ink. You want water to be on your plate but you don't want it to be very wet. After sponging roll your oil based ink out onto the plate and watch your image re-appear. Once you've got your pressure set at the press run your plate through with a sheet of paper and pull your print! Researchers say that these plates can be used for up to editions of 50 if using a gentle hand however I have not tested this personally. 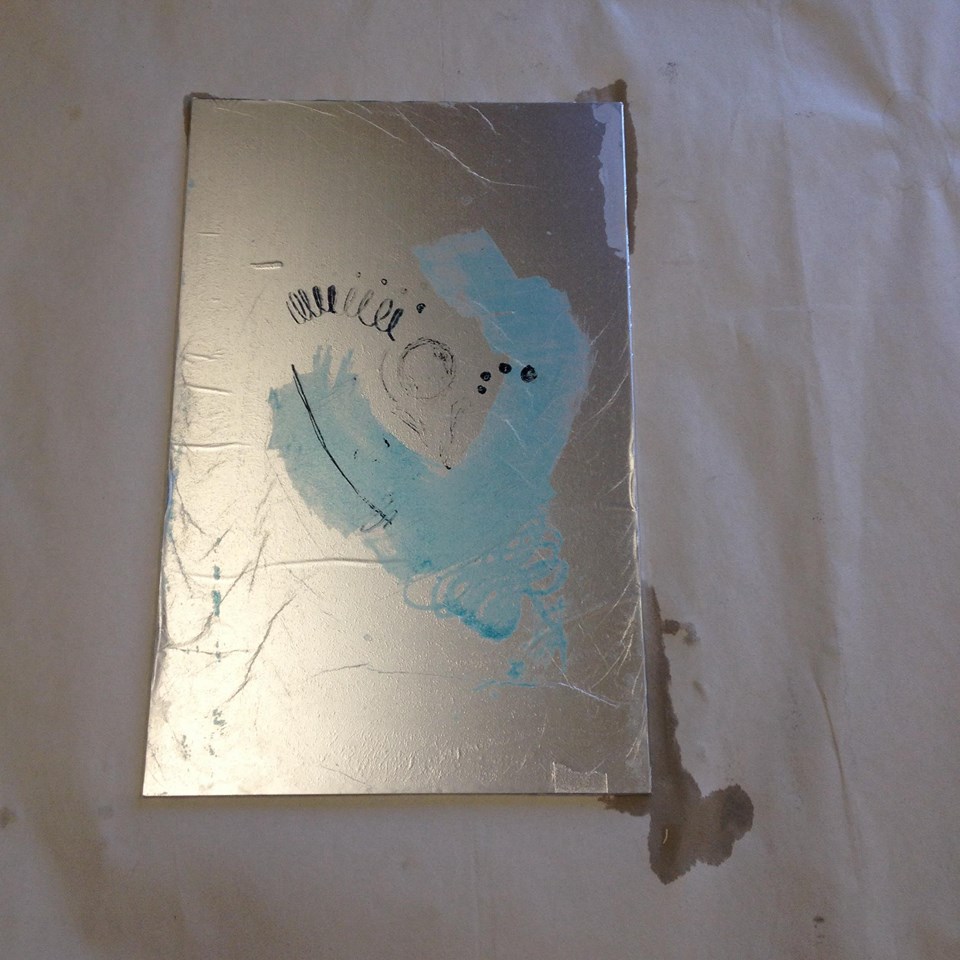 A Pulled PrintLearning Experiences "Flops"References |